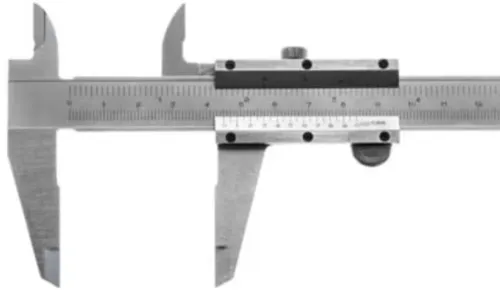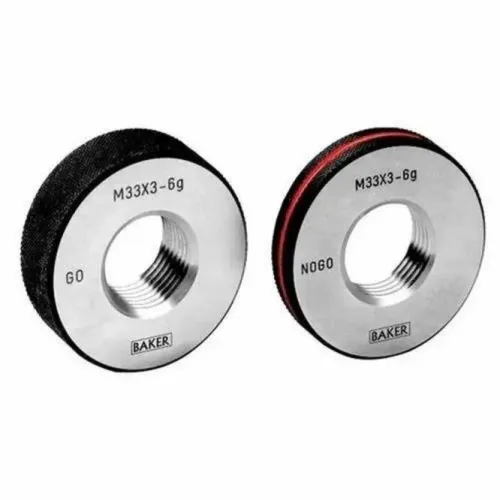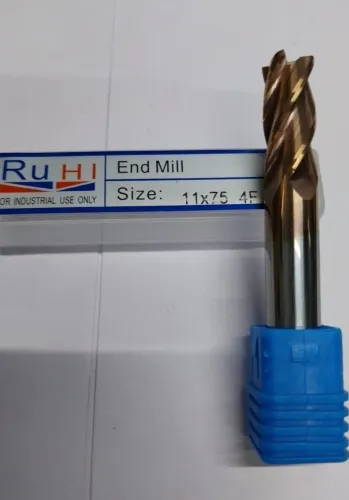

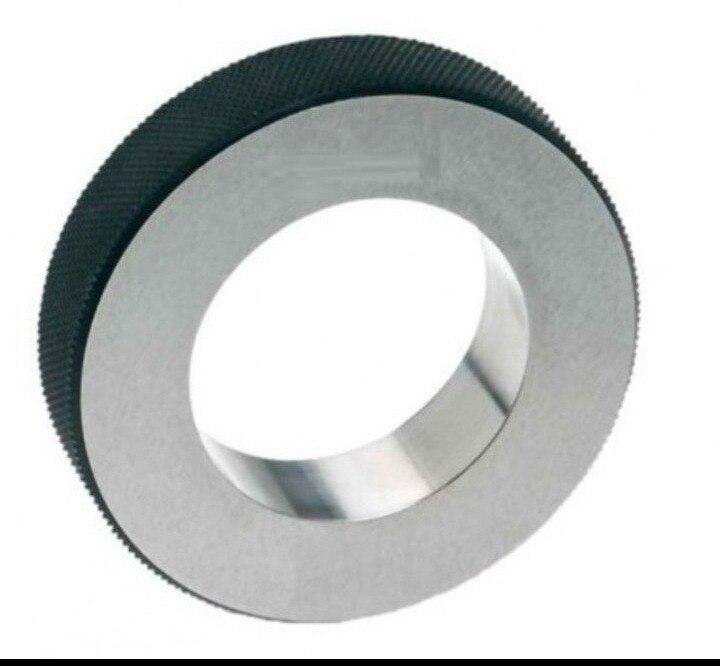
A plain ring gauge checks an outside cylindrical diameter, so it cannot confirm whether a tapped hole has the correct pitch, flank form or effective thread diameter. By separating bore checks, threaded plug-gauge checks and dimensional investigation, you can identify what passed, what failed and which tool to use next.
Key takeaways
- Use a plain ring gauge only on external cylindrical diameters.
- Check internal threads with specified GO and NO-GO threaded plug gauges.
- Separate bore diameter failures from pitch, flank, and thread-form failures.
- Record gauge identification, results, and disposition before releasing the batch.
What a plain ring gauge can—and cannot—check after tapping
A plain ring gauge checks an external cylindrical diameter; it does not accept an internal thread. Use it on a tap shank, arbor, or machined boss—not on the tapped hole. An HSS hand tap is a cutting tool, not a calibrated thread gauge, so its nominal marking cannot prove the finished thread meets tolerance.
| Feature | Correct gauge | What it checks |
|---|---|---|
| External cylindrical diameter | Plain ring gauge | Outside diameter of a shank, arbor, or boss |
| External thread | Thread ring gauge | External pitch diameter, flank form, and thread engagement |
| Internal bore or minor diameter | Plain plug gauge | Bore size, obstruction, or an undersize minor diameter |
| Internal thread | Threaded GO/NO-GO plug gauge | Internal thread size, pitch diameter, lead, and usable form |
A plain ring gauge HSS hand tap for checks is therefore a category error: the ring gauge measures outside diameter, while HSS hand taps produce an internal thread. A plain plug gauge is a useful supplementary check, but it cannot detect incorrect pitch, lead, helix, flank angle, or incomplete thread form.
Report it as a bore check, not as internal-thread acceptance.
After tapping, remove chips, cutting fluid and burrs from the hole. Align the specified threaded plug gauge squarely with the axis, turn it by hand without forcing it, and record the GO and NO-GO result.
Taper, plug and bottoming HSS hand taps change how you produce the thread; they do not change which gauge accepts it.
Use the specified threaded plug gauges correctly
After HSS hand tapping, carry out internal thread checking with calibrated threaded GO and NO-GO plug gauges specified for the thread size, pitch, tolerance class and applicable standard. The tap’s nominal marking does not prove acceptance; it is a cutting tool, not a calibrated thread gauge.
- Remove chips, coolant and loose material from the hole. Brush or blow the thread clean without packing debris deeper into a blind hole.
- Inspect the entrance and first thread for a raised burr, torn metal or visible damage. A burr can stop the GO gauge and create a false rejection.
- Hold the GO plug gauge square to the hole and turn it in using normal hand pressure. It must enter through the full effective thread length required by the governing standard.
- Withdraw the GO gauge if it binds. Do not rock, hammer or force it; forcing can damage the gauge and alter the tapped thread.
- Check the same hole with the specified NO-GO plug gauge. Stop at the limit stated by the thread standard or inspection specification; do not treat the NO-GO gauge as a general depth measurement.
- Record the result against the gauge identification and calibration status when the check forms part of production release.
Do not run the HSS tap through the hole as an acceptance test. A plain plug gauge can check the drilled minor diameter, but only the specified threaded plug gauges check the finished internal thread’s flanks, pitch diameter and form.
Separate bore-size failures from thread-form failures
A failed threaded plug-gauge check proves that the internal thread does not meet the specified limit; it does not identify the cause. Separate the drilled bore from the thread form before changing the tap.
Clean the hole, remove the entrance burr, and inspect for packed chips. Check the minor diameter with the specified plain plug gauge. If the plain plug will not enter, the bore is undersize, blocked, or distorted; investigate drilling, chip removal, and burr formation before blaming the tapping operation.
If the plain plug passes but the threaded GO plug will not enter fully, suspect the thread form or the tapping process. Check pitch, lead, flank angle, incomplete thread length, and damage with the correct threaded gauges or dimensional equipment. A nominal-size HSS hand tap cannot serve as the acceptance gauge.
Use this isolation checklist during HSS hand tap inspection:
- Plain plug fails: investigate the drilled bore, chips, burrs, or hole distortion.
- Plain plug passes and threaded GO fails: investigate tap alignment, tap wear, lubrication, chip evacuation, and insufficient tapping depth.
- Threaded GO passes but NO-GO enters beyond its permitted limit: treat the thread as oversize or otherwise nonconforming.
- Several holes fail in the same pattern: inspect the drill size, tap condition, workholding, and tapping sequence.
- Only one hole fails: recheck cleaning and gauge alignment before assigning a process cause.
A plain ring gauge adds no diagnosis for the internal thread; it checks an external cylindrical diameter, not pitch, flank form, lead, or thread diameter. Never force a gauge into a doubtful hole.
Know when a limit gauge needs support from dimensional measurement
Use a threaded GO/NO-GO plug gauge to accept an internal thread; use a plain plug gauge only to screen the cylindrical bore or minor diameter. A plain ring gauge checks an external cylindrical diameter, such as a shank or boss, and cannot verify internal thread pitch, flanks, lead, helix, or continuity.
For internal thread checking, clean the hole, remove chips and burrs, and align the gauge squarely with the hole axis.
- Run the threaded GO plug through the full effective thread length using normal hand pressure. Apply the exact gauging rule specified by the thread standard.
- Check the NO-GO plug without forcing it. Its permitted entry depends on that standard and the specified gauge class.
- Use the plain plug when you need to separate a restricted minor diameter from a thread-form problem.
- Stop treating the result as a diagnosis when a gauge fails, passes intermittently, or identifies a local defect.
| Measurement method | Better diagnosis when | What it reveals |
|---|---|---|
| Internal micrometer | You need a direct bore-size reading | Internal diameter variation, but not complete thread form |
| Bore gauge | You suspect taper, ovality, or depth-related variation | Diameter changes at several depths and orientations |
| Air gauge | You need fast repeated bore comparison | Small bore-size shifts during production |
| Optical system | You need to inspect accessible thread geometry | Flank angle, pitch, burrs, damage, and profile |
| CMM | You need mapped geometry or traceable coordinates | Location, axes, taper, pitch-related features, and complex deviations |
A failed limit gauge does not identify the cause by itself; choose dimensional measurement to locate it.
Turn the check into a controlled production decision
A repeatable decision starts with the drawing, not the tap box. Specify the thread designation, tolerance class, gauging standard, GO gauge effective length, NO-GO limit, and the plain plug size for the drilled bore. An HSS hand tap marked with a nominal size cannot define the finished internal-thread acceptance limit.
- Identify each gauge by type and serial number: plain plug for the bore, threaded plug GO and NO-GO for the thread, and plain ring only for an external cylindrical diameter.
- Record the gauge manufacturer, calibration due date, master or setting reference, inspection date, operator, machine, part lot, HSS hand taps used, and result for each hole.
- Control the inspection method: clean chips and burrs, inspect the entrance, align the gauge squarely, use normal hand pressure, and stop if resistance requires force.
- Set the reaction rule before production: quarantine the lot after a failed GO or NO-GO result, verify the gauge’s calibration and cleanliness, then investigate drilling, tap wear, alignment, lubrication, and chip evacuation.
- Keep gauges protected from impact, corrosion, heat, and unauthorized adjustment; remove any gauge from service when its identification or calibration status is unclear.
For a repeat job, give Perfect Tools Centre the drawing’s thread designation, tolerance class, and gauging rule—not merely “M10 tap”—so the selected gauges match the acceptance decision. Taper, plug, and bottoming HSS hand taps change access and chamfer length, not this inspection principle.
Related products
 | HSS Hand Taps HSS hand taps are tools made of High-Speed Steel (HSS) used to manually cut internal threads in materials like metal and plastic. View product → |
 | Measuring Instruments M 10 H7 View product → |
Frequently asked questions
Can a plain ring gauge check an internal tapped hole?
No. A plain ring gauge checks an external cylindrical diameter. Use a specified threaded plug gauge to check an internal thread.
What should you use after threading with an HSS hand tap?
Use the threaded GO and NO-GO plug gauges specified for the thread size, pitch, class, and applicable standard.
How do you distinguish bore-size failure from thread-form failure?
Use dimensional measurement to check the minor diameter, then use the threaded plug gauges to evaluate thread acceptance and form.
When does a limit gauge need support from dimensional measurement?
Use dimensional measurement when the gauge result does not identify the failure, when the bore is near a limit, or when you need a recorded numerical value.
Related product
 | Air Gauges An Air Gauge is a non-contact measuring device that is of high magnitude and is used to test the accuracy of the dimensions of the manufactured parts... View product → |